I hit a wall working on my Cadian Shock Troopers, and needed a way to break out of it. So I put them aside, and started work on their bases. I didn't want to do anything too time intensive, but I also wanted bases that were a little more exciting that the typical glue and sand. After a bit of Googling, I decided duckboards were the way to go. After some tinkering I ended up with a recipe that I can see myself using again.
What I used
- 1/32" x 3/16" bass wood strips
- Vallejo Russian Mud
- Snakebite Leather Contrast Paint
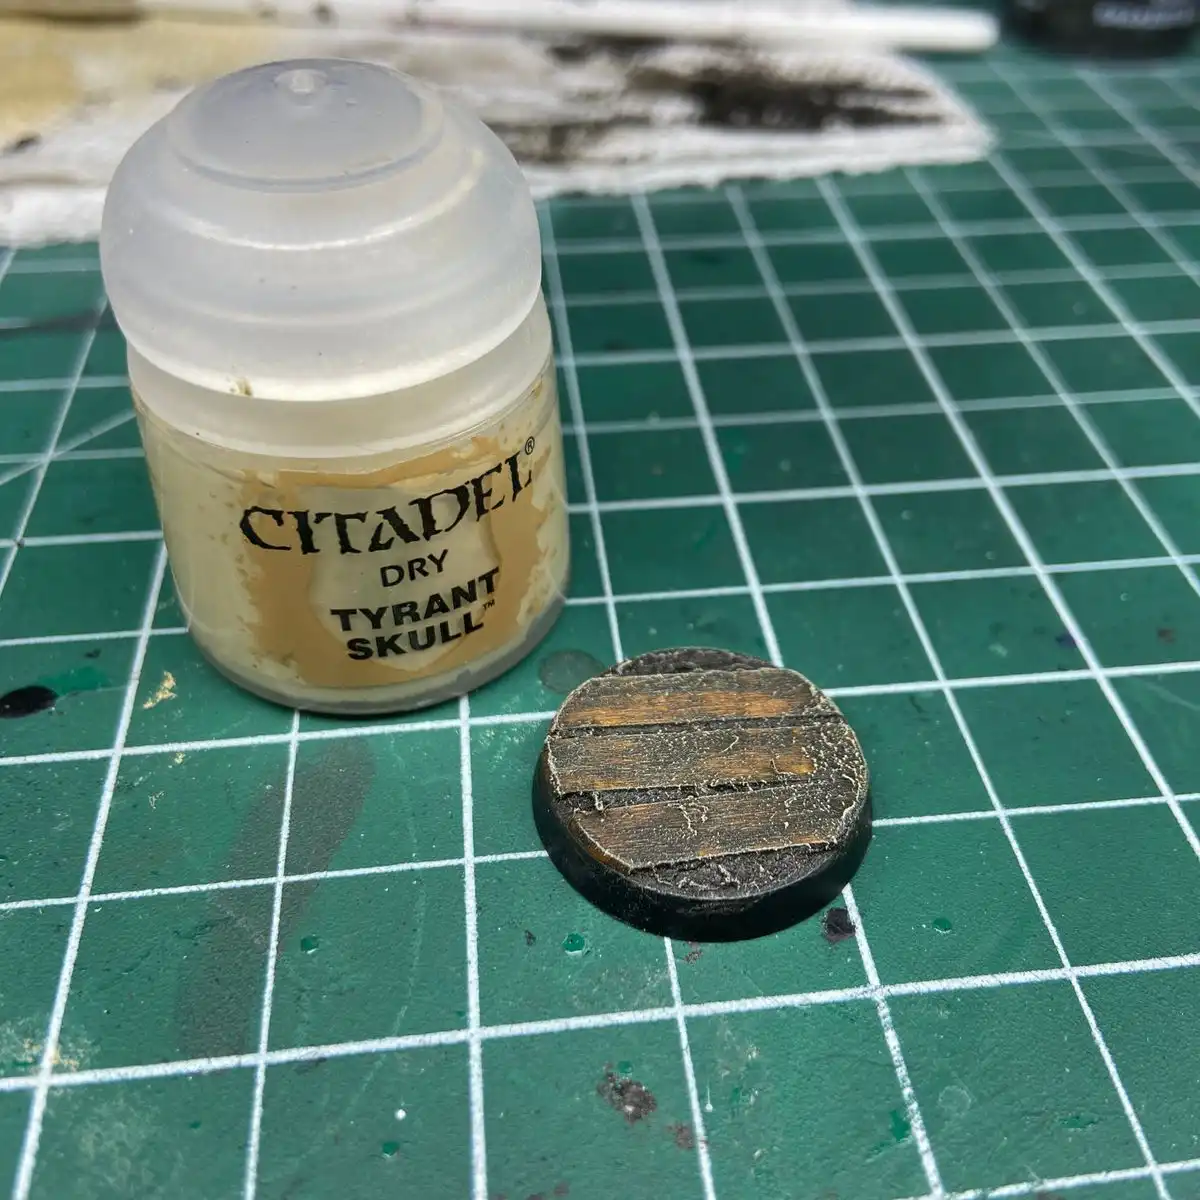
- Citadel Dry: Tyrant Skull
- MIG Wet Effects
Step-by-step
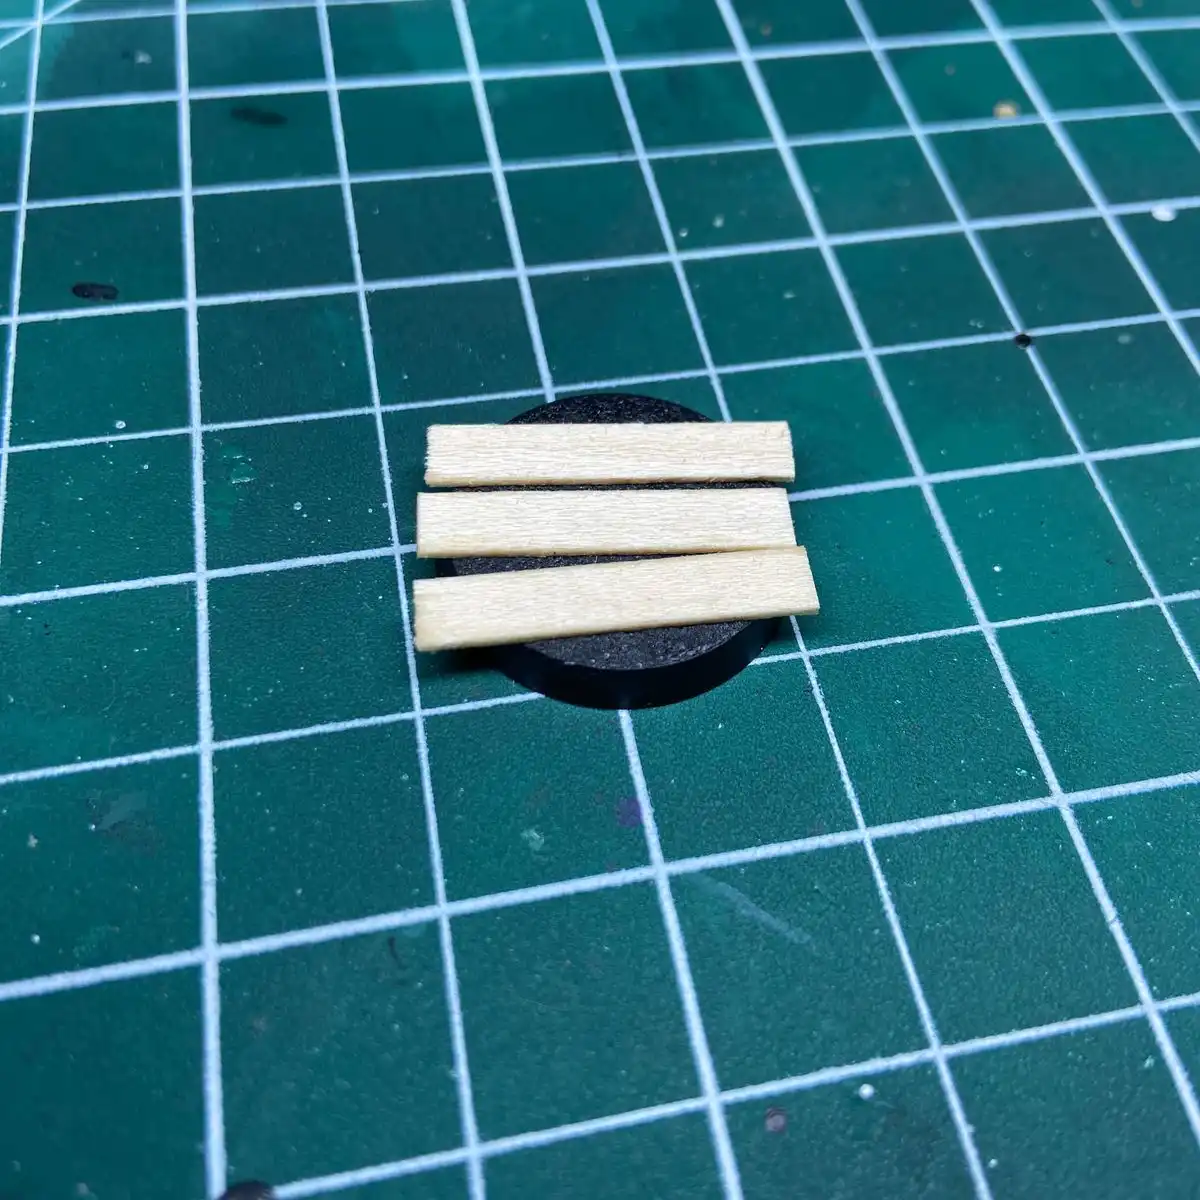
I cut the bass wood into 1 inch pieces, and superglued 3 to each the 10mm bases. Make sure to leave some space between the pieces so we have something to push the texture paint into later.
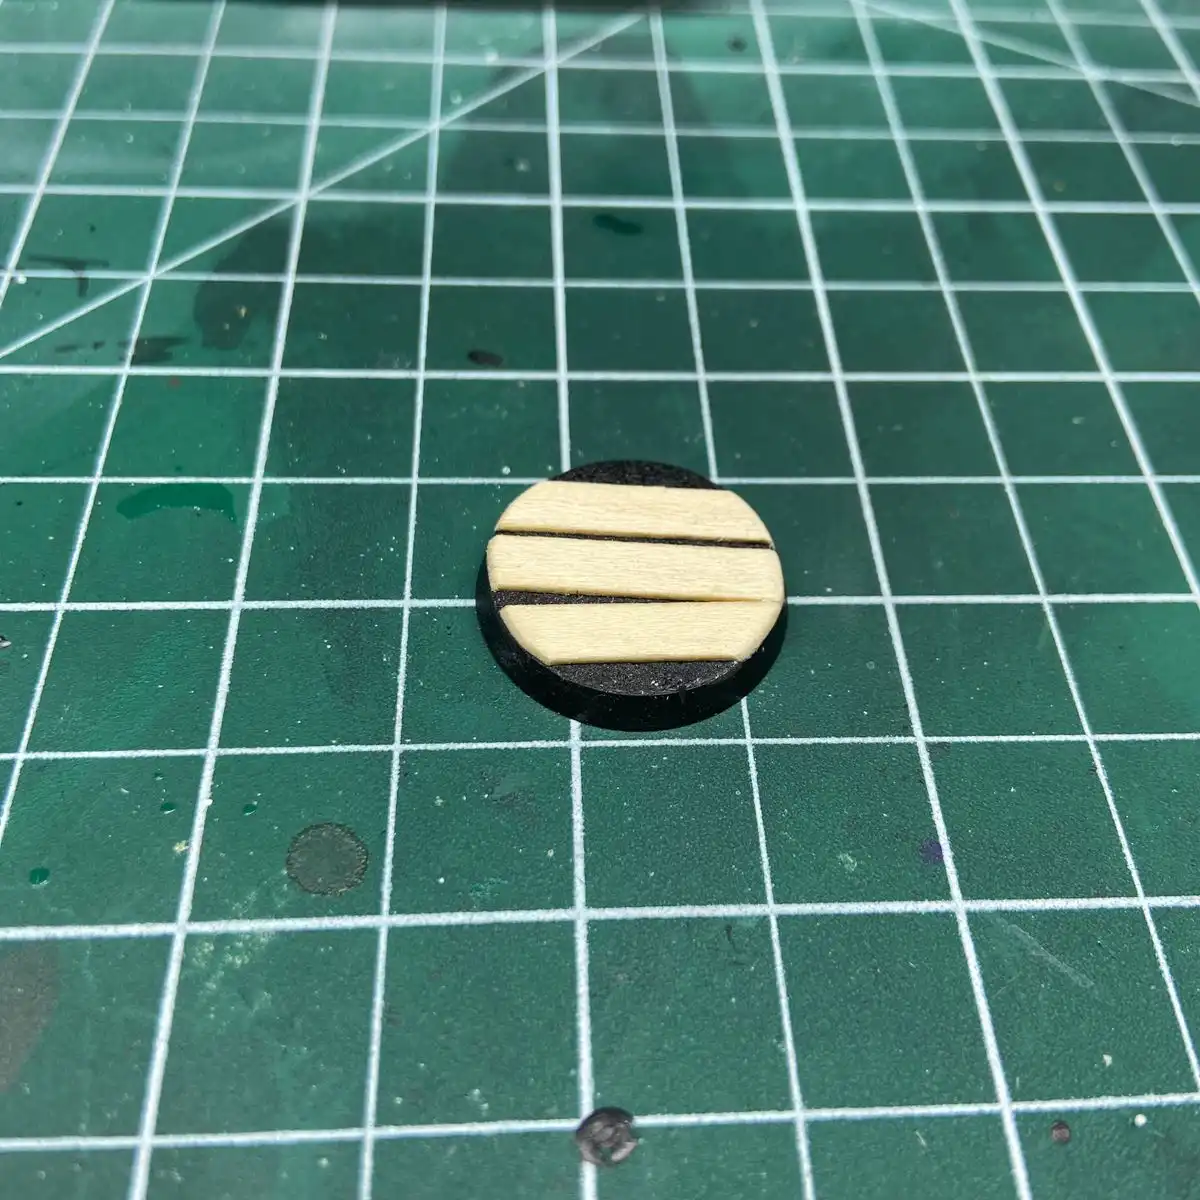
After that dried I trimmed off the excess wood off using a hobby knife, and sanded down the ends until they were flush with the base. You could also use a sprue cutter, but I'd avoid it unless you want pieces of wood flying around.
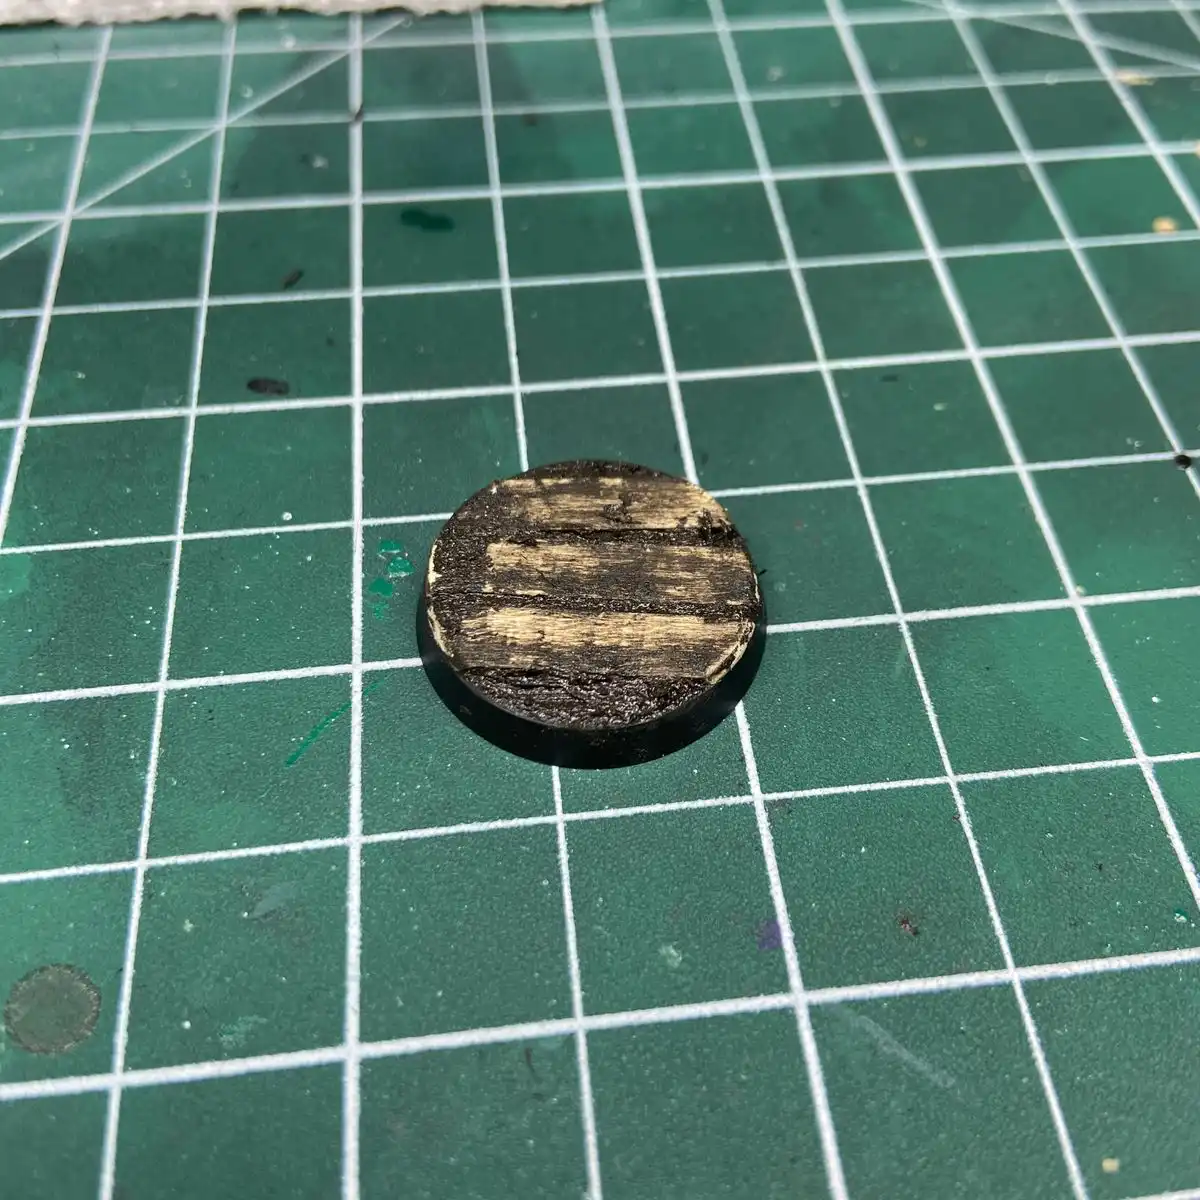
Next up is the mud. You can use whatever texture paint you want for this, but I like Vallejo Russian Mud a lot. It's got little bits of "something" in it, that makes it look particularly grimy. Make sure you really slather it on, and completely fill the spaces between the wood planks. Once you've done that, use any flat edge to wipe the excess off the top of the wood.
Note: Don't use a brush to apply this, it will get all gunked up.
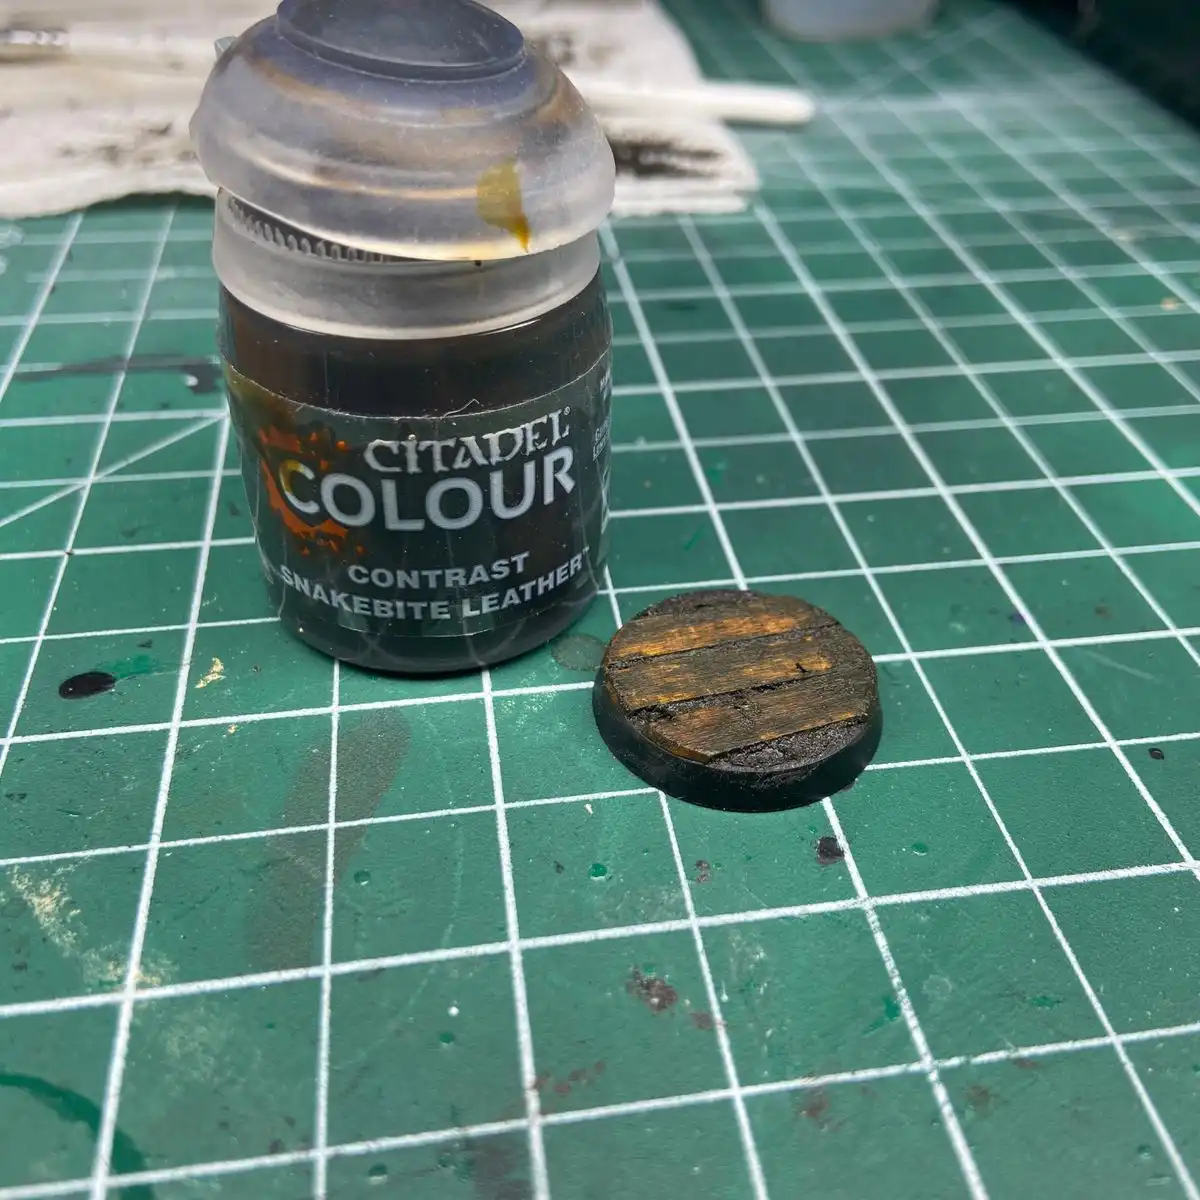
Painting the wood is pretty straightforward. After trying a couple different contrast paints, I settled on Snakebite Leather. The others I tried were a little too dark, and the boards ended up getting lost in the mud.
Once that dries, make sure you hit everything with a quick dry brush. I had some Tyrant Skull lying around, so I used that, but any lighter color would work fine.
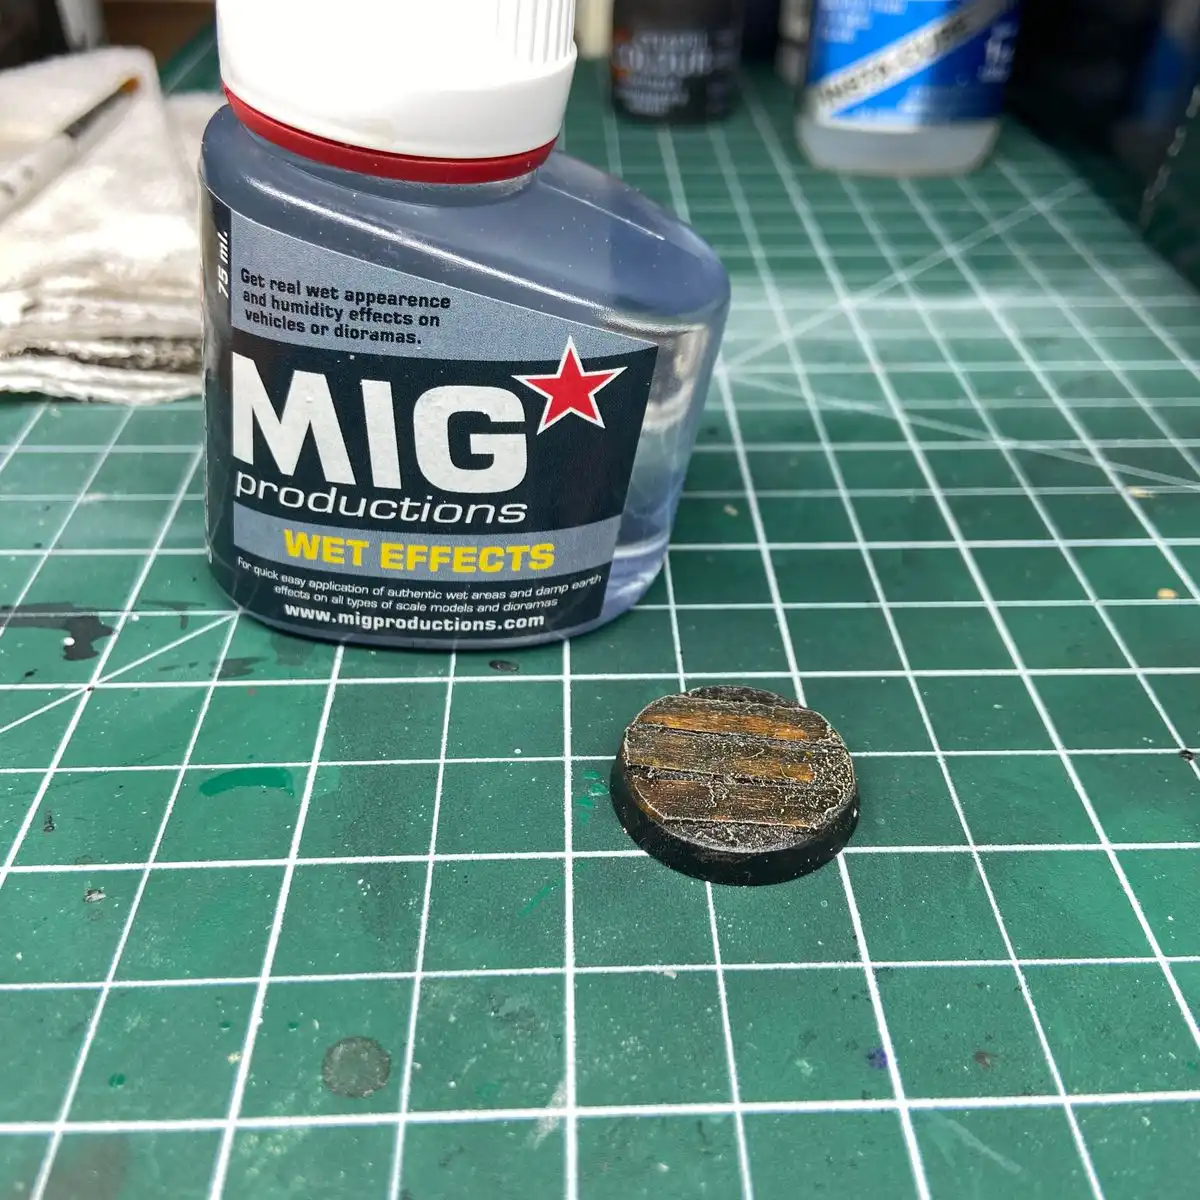
This is an optional step, but I finished by applying MIG Wet Effects all over the top of the base. The pictures don't quite do it justice, but I've used it in the past with Vallejo Russian Mud, and it's a great combination.
Note: This will destroy a brush if you aren't careful. It's an enamel based product, so you'll need an enamel thinner to clean it. If you don't have that make sure you use a brush you don't care about.
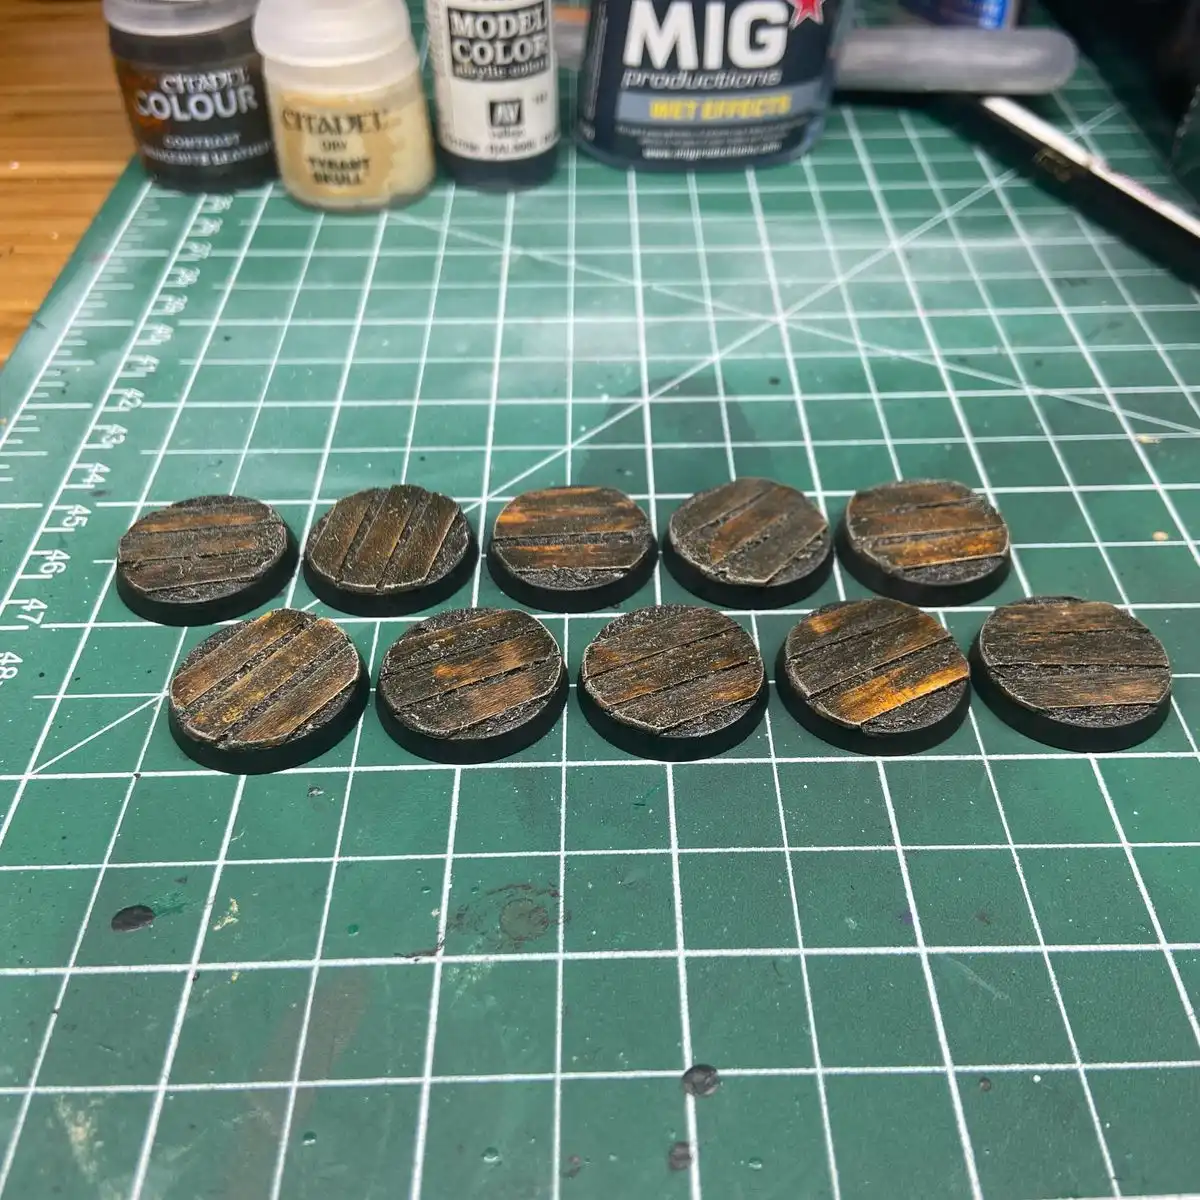
There you have it. Clean any excess material off the rim of your base, paint it black, and you're done. I think you end up with a good looking effect, without requiring a lot of time or crafting know-how.
I hope you've found this useful. If you have any questions or suggestions, feel free to reach out using the reply link below.